

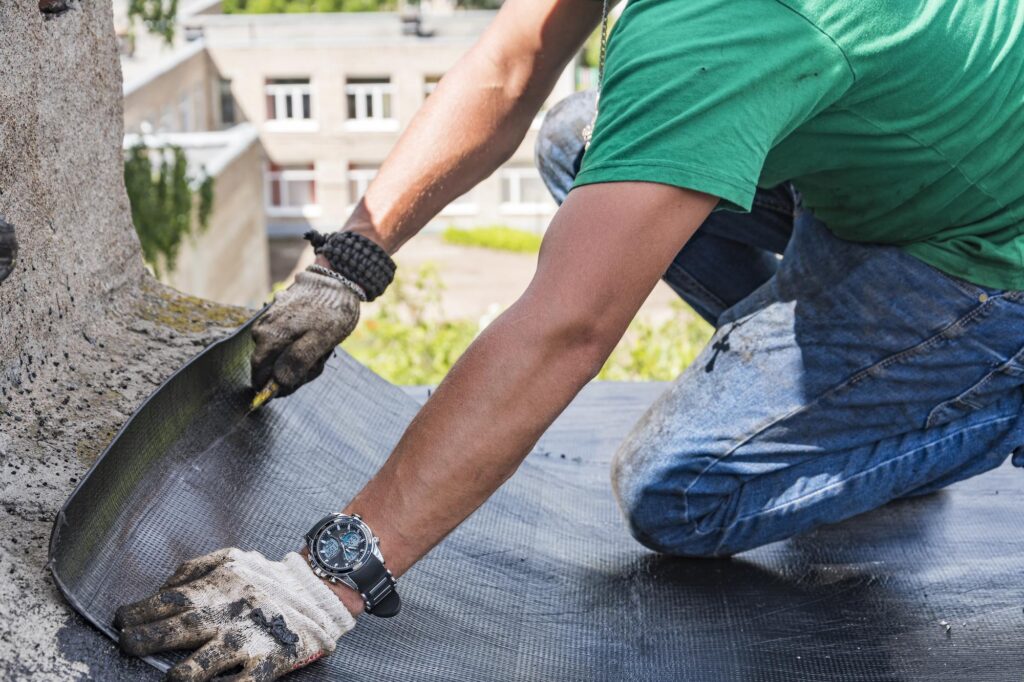
Tapping a roof for repair is a crucial technique for identifying hidden damage, weak spots, and moisture buildup before they lead to major structural issues. Whether dealing with a leaking roof, loose shingles, or rotting wood, this method helps pinpoint problem areas efficiently. Carefully tapping different sections helps detect variations in sound that indicate underlying issues, ensuring accurate repairs.
This guide covers why tapping a roof for repair is essential, the tools required, and a detailed step-by-step process to locate and fix roofing problems effectively.
Why Tapping a Roof for Repair is Important
Tapping a roof for repair allows for the detection of structural weaknesses that might not be visible during a regular inspection. This method is particularly useful for assessing roof integrity without removing shingles or panels, making it a time-efficient diagnostic tool.
- Locates Weak or Damaged Sections – A hollow sound can indicate rot, air pockets, or deteriorating decking beneath the surface.
- Detects Moisture Intrusion – Water-damaged areas produce a dull, muffled sound, helping identify leaks early.
- Identifies Loose or Unsecured Shingles – Roofing materials that aren’t properly secured can make a distinct tapping sound, signaling areas that need reattachment.
- Checks the Underlayment Condition – Inconsistent sounds across different sections can reveal problems with the underlayment or insulation layers.
- Minimizes Unnecessary Repairs – Instead of replacing large sections of the roof, tapping helps focus on specific problem areas, saving time and money.
Essential Tools for Tapping a Roof for Repair
Using the right tools ensures accurate results when tapping a roof for repair. These tools help differentiate between solid, stable areas and sections that require immediate attention.
- Rubber Mallet or Wooden Hammer – A soft but effective tool that produces clear sound variations without damaging shingles or roofing panels.
- Metal Rod or Screwdriver Handle – Useful for detailed tapping in tight or delicate areas where precision is necessary.
- Chalk or Marker – Helps mark problem spots, ensuring they are not overlooked during the repair process.
- Moisture Meter (Optional) – Confirms dampness in areas where tapping suggests potential water damage.
- Ladder and Safety Gear – A stable ladder, harness, and slip-resistant shoes are essential for working safely at heights.
Step-by-Step Guide to Tapping a Roof for Repair
Tapping a roof for repair should be done systematically to ensure no weak spots are missed. A structured approach makes it easier to detect problem areas and carry out effective repairs.
1. Secure Safe Roof Access
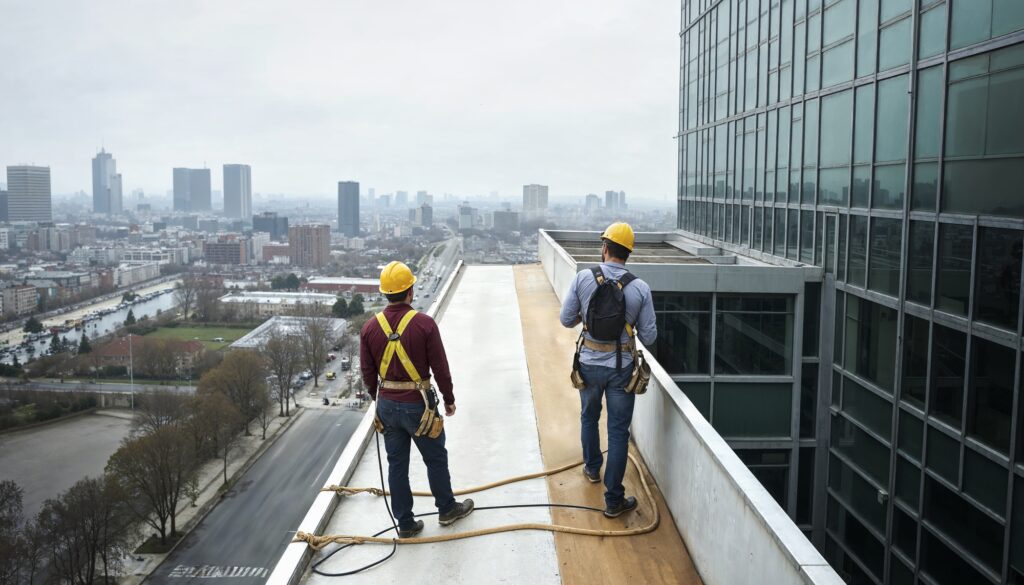
Setting up a sturdy ladder on a flat surface ensures stability. The ladder should extend at least three feet above the roofline. A harness and roof anchor provide additional safety, especially on steep slopes. Dry and wind-free weather conditions reduce the risk of slips or falls.
2. Start from One End and Work in Sections
Dividing the roof into sections helps maintain a systematic approach. Working methodically from one end to the other ensures no areas are overlooked. This method also makes it easier to compare sound variations across different sections.
3. Tap Using the Right Amount of Force
Using a rubber mallet or screwdriver handle allows for controlled tapping. Sound variations reveal different conditions:
- A solid, sharp sound indicates a stable, undamaged roof section.
- A hollow or echoing sound suggests an air gap, detached shingles, or weakened wood.
- A muffled or dull sound could mean water damage, rot, or insulation issues.
4. Pay Special Attention to High-Risk Areas
Certain sections of the roof are more prone to damage and should be tapped thoroughly:
- Roof Valleys – These areas collect the most water runoff, making them susceptible to moisture damage and leaks.
- Chimney Flashing and Skylights – Poorly sealed flashing or worn-out caulking can cause leaks. Tapping can help detect weak spots.
- Eaves and Edges – These sections are prone to rot and insect damage, often producing a dull sound.
- Vent Openings and Pipe Boots – Tapping around these areas can reveal cracked or deteriorated seals that might not be visible.
5. Mark All Identified Problem Areas
Marking weak spots with chalk or a marker ensures they are not missed during repairs. This step makes it easier to return to each problem area without rechecking the entire roof.
6. Test Moisture Levels in Suspicious Areas
Moisture meters provide confirmation for suspected water damage. High readings indicate areas that may require replacement rather than a patch repair.
7. Press Lightly with Your Foot for Additional Confirmation
Gently stepping on marked areas can help assess the severity of damage. A soft or spongy feel indicates significant rot or decay, requiring immediate attention.
8. Perform Necessary Repairs Based on Findings
Once all weak spots are identified, addressing them based on severity ensures long-term roof integrity:
- Loose Shingles or Tiles – Securing them with roofing nails or adhesive prevents further shifting.
- Small Air Pockets or Gaps – Roofing sealant strengthens these areas and reduces water infiltration risks.
- Rotting or Soft Decking – Cutting out affected sections and replacing them with new plywood restores stability.
- Moisture-Damaged Underlayment – Installing a fresh underlayment layer prevents future leaks.
Pro Tips for Effective Roof Tapping
- Start with light taps and gradually increase force if needed.
- Conduct tapping in a quiet environment for clearer sound distinctions.
- Tap in different weather conditions—moisture levels can affect the results.
- Compare sounds between known solid areas and suspected weak spots for accuracy.
- Recheck previously repaired sections to ensure they remain intact over time.
- Mark problem spots immediately to avoid missing them later.
- Tap around roof protrusions carefully, as these areas are prone to hidden leaks.
- If a section sounds hollow but feels solid, it may have an insulation gap rather than damage.
- If in doubt, consult a professional roofer for a second opinion on major issues.
Also Read: Best Time for Roof Repair and Replacement
Conclusion
Tapping a roof for repair helps detect hidden damage before it escalates into costly problems. A systematic tapping approach reveals weak spots, moisture buildup, and loose materials without relying solely on visual inspection. Sound variations make it possible to pinpoint the exact location of issues, ensuring that only necessary repairs are performed.
Roof repairs become more manageable when problem areas are identified early. Whether handling minor fixes or assessing extensive damage, this technique saves time and money. For widespread or severe issues, consulting a professional ensures repairs are completed safely and effectively.